This post is aimed at the EVO-ALL alarm feature only, anything relating to the EVO-ONE alarm feature will be posted in another post (THIS ONE).
The EVO-ALARM feature is compatible on vehicles that we can monitor the vehicles door status through Can-Bus. On vehicles that we can also monitor the OEM remotes, this means you could control the EVO-ALL alarm from the factory remotes. The main reason we have added the EVO-ALARM feature is to add that much appreciated extra convenience of security in vehicles that do not have a factory alarm.
Since this is a firmware related feature, all current units you have in stock or have installed already can benefit from this! (this is also a prime example of why we have firmware updates).
Here are some possibilties of how or when you can integrate the EVO-ALARM feature.
When OEM Remote Monitoring is functional and 3x Lock Start / Stop is also compatible, activating the EVO-ALARM feature will allow you to control both remote starting your vehicle and arming / disarming the EVO-ALARM feature.
You can also use the EVO-ALARM feature in conjunction with any datalink compatible remote starter when using the EVO-ALL as the transponder bypass and Can-Bus integration module.
The EVO-ALARM feature can also be controlled via an RF-KIT when doing a Stand Slone Remote Starter installation with the EVO-ALL (basically exactly like #1 but controlled via aftermarket remotes).
Use the EVO-ALL as just a basic alarm controlled either via the OEM remotes (if the vehcile is compatible with OEM Remote Monitoring) or through an RF-KIT.
An important and often overlooked step, is that the EVO-ALARM feature has its own installation guide! You can find it here : Download Installation Guide This installation covers the basic connections required to have the EVO-ALL act as an alarm. Although there are three different diagrams, THEY ARE ALL THE SAME when it comes to the EVO-ALL connections. We only seperated into three diagrams to show that it can be used on it's own, with an RF-KIT or with a separate remote starter.
coming back to finish this at a later date....
for any infomation on the EVO-ALARM, please contact support or click the Ask a Question link above.

 EVO-4-SERIES
 EVO-9-SERIES
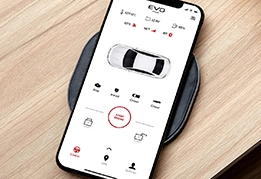 EVO-START
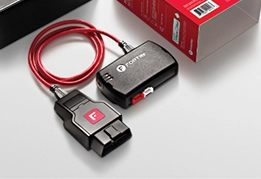 FlashLink Mobile
 Audi
Audi
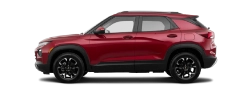 Chevrolet
 Ford
Ford
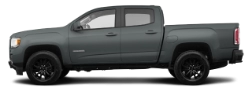 GMC
GMC
 Honda
Honda
 Hyundai
 Kia
Kia
 Mazda
Mazda
 Nissan
 RAM
RAM
 Subaru
 Toyota
 Volkswagen
 Find Our Products
  Order Our Products Online
 Find an


